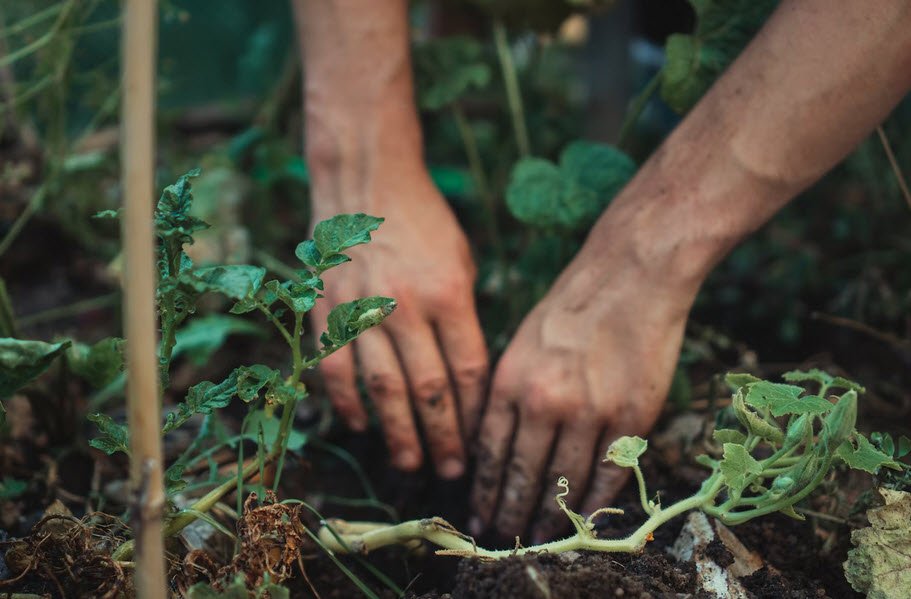
Composting is nature’s own way of recycling yard and household wastes by converting them into valuable fertilizer, soil organic matter, and a source of plant nutrients.
Cold or Slow Composting
Cold composting allows you to just pile organic material on the ground or in a bin. This method requires no maintenance, but it will take several months to a year or more for the pile to decompose, though the process is faster in warmer climates than in cooler areas.
Cold composting works well if you are short on time needed to tend to the compost pile at least every other day, have little yard waste, and are not in a hurry to use the compost.
For this method, add yard waste as it accumulates. To speed up the process, shred or chop the materials by running over small piles of trimmings with your lawn mower, because the more surface area the microorganisms have to feed on, the faster the materials will break down.
Cold composting has been shown to be better at suppressing soilborne diseases than hot composting and also leaves more non-decomposed bits of material, which can be screened out if desired. However, because of the low temperatures achieved during decomposition, weed seeds and disease-causing organisms may not be destroyed.
Vermicomposting
Vermicomposting uses worms to compost. This takes up very little space and can be done year-round in a basement or garage. It is an excellent way to dispose of kitchen wastes.
Any large bucket can be turned into a compost barrel.You can cut out a piece of the barrel for easy access to the compost, as shown here, or simply access the compost through the lid. Drilling holes in the sides and lids of the bucket will increase air circulation and speed up the process. Leave your bucket in the sun and shake it, roll it, or stir the contents regularly.
Grass clippings and other plant debris can all be added to your compost pile. Note, however, that weeds can germinate again in your compost and thus end up back in your garden.
Here’s how to make your own vermicomposting pile:
- Obtain a plastic storage bin. One bin measuring 1 foot by 2 feet by 3½ feet will be enough to meet the needs of a family of six.
- Drill 8 to 10 holes about ¼ inch in diameter in the bottom of the bin for drainage.
- Line the bottom of the bin with a fine nylon mesh to keep the worms from escaping.
- Put a tray underneath to catch the drainage.
- Rip newspaper into pieces to use as bedding and pour water over the strips until they are thoroughly moist. Place these shredded bits on one side of your bin. Do not let them dry out.
- Add worms to your bin. It’s best to have about two pounds of worms (roughly 2,000 worms) per one pound of food waste. You may want to start with less food waste and increase the amount as your worm population grows. Redworms are recommended for best composting, but other species can be used. Redworms are the common, small worms found in most gardens and lawns. You can collect them from under a pile of mulch or order them from a garden catalog.
- Provide worms with food wastes such as vegetable peelings. Do not add fat or meat products. Limit their feed, as too much at once may cause the material to rot.
- Keep the bin in a dark location away from extreme temperatures.
- Wait about three months and you’ll see that the worms have changed the bedding and food wastes into compost. At this time, open your bin in a bright light and the worms will burrow into the bedding. Add fresh bedding and more food to the other side of the bin. The worms should migrate to the new food supply. Worms will filter your organic waste through their systems and turn it into nutrient-rich humus.
- Scoop out the finished compost and apply to your plants or save to use in the spring.
Common Problems
Composting is not an exact science. Experience will tell you what works best for you. If you notice that nothing is happening, you may need to add more nitrogen, water, or air, chip or grind the materials, or adjust the size of the pile.
If the pile is too hot, you probably have too much nitrogen and need to add additional carbon materials to reduce the heating.
A bad smell may indicate not enough air or too much moisture. Simply turn the pile or add dry materials to the wet pile to get rid of the odor.
You may also like:- From Seed to Soil – How to Kickstart Your Garden
- Top 10 Plants You Can Grow Instead of a Fence
- Winter Sowing – Growing Resilient Plants From Seed in the Cold
- 12 Medicinal Plants You Can Grow At Home
- Effective Gardening Tips for Saline Soils
- Effective Strategies For Working With Shallow Soils
- Effective Strategies For Working With Acid Soils
- Perennial Plants: The Garden’s Timeless Beauties
- Understanding the World of Horticulture: Varieties, Propagation, and More
- Top Strategies for Dealing with Compacted Soils