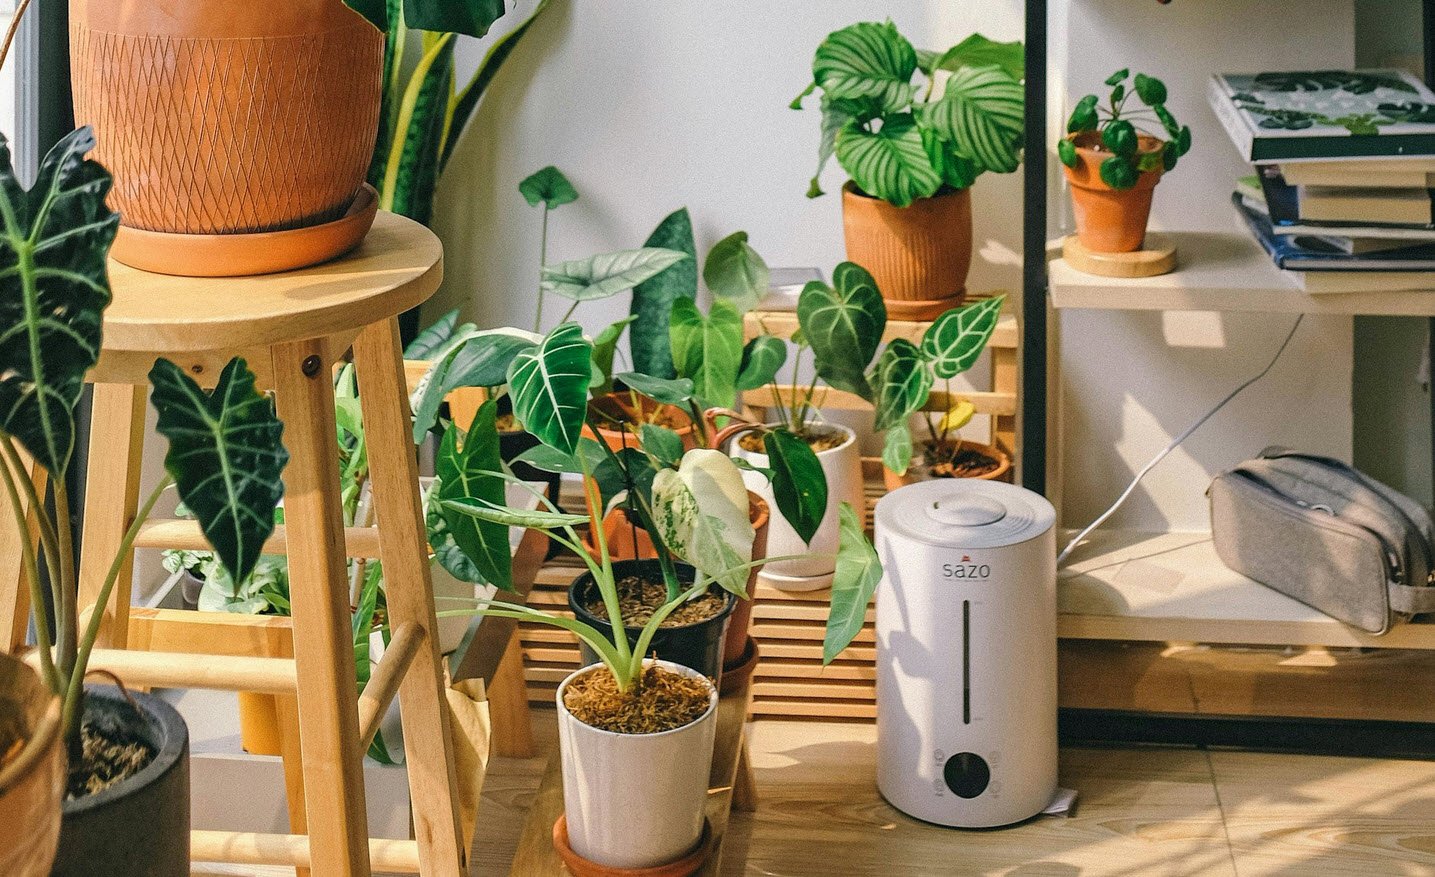
Once you’ve chosen a spot for your garden (as well as the size you want to make your garden bed), and prepared the soil with compost or other fertilizer, it’s time to start planting.
Seeds are very inexpensive at your local garden center, or you can browse through seed catalogs and order seeds that will do well in your area. Alternately, you can start with bedding plants (or seedlings) available at nurseries and garden centers.
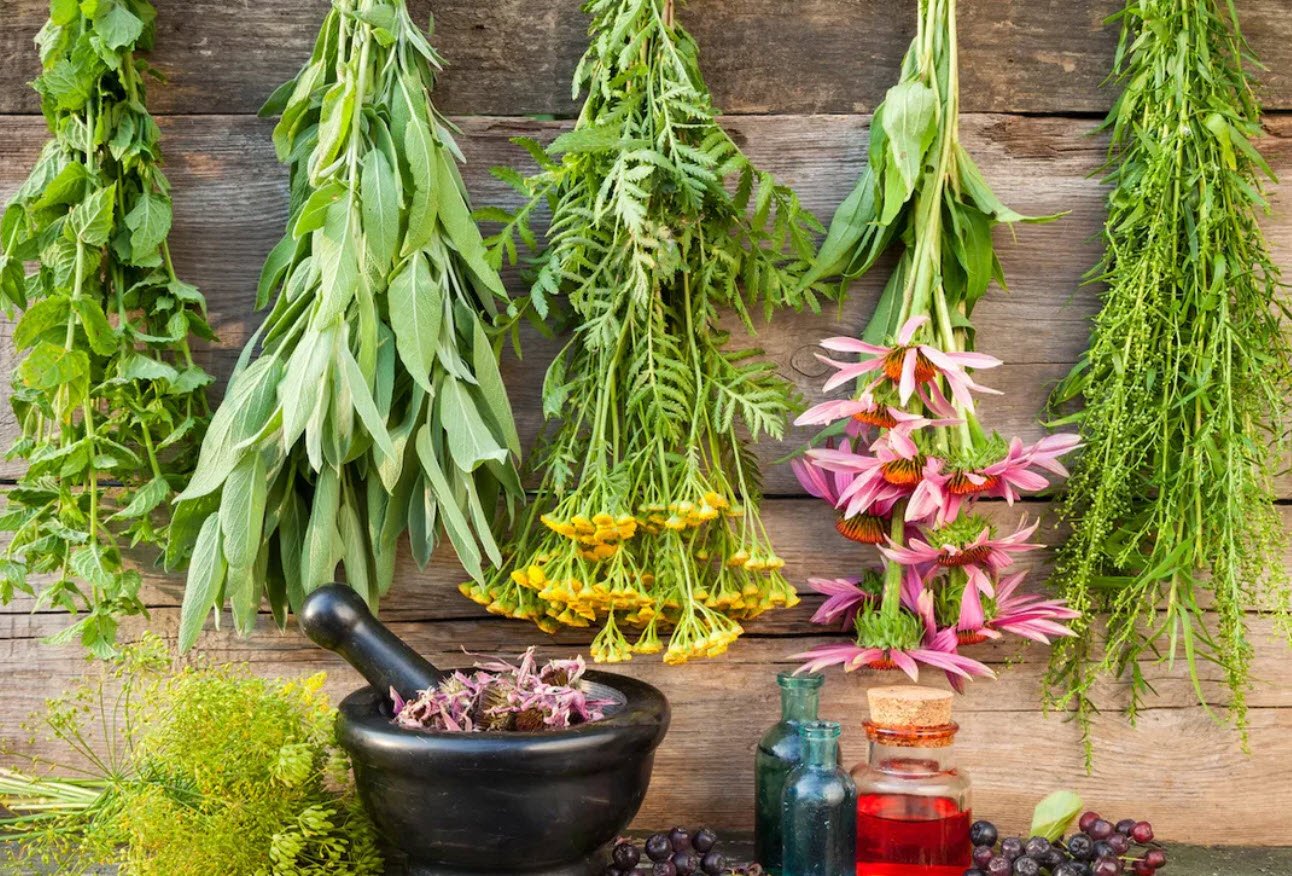
Uses for Compost
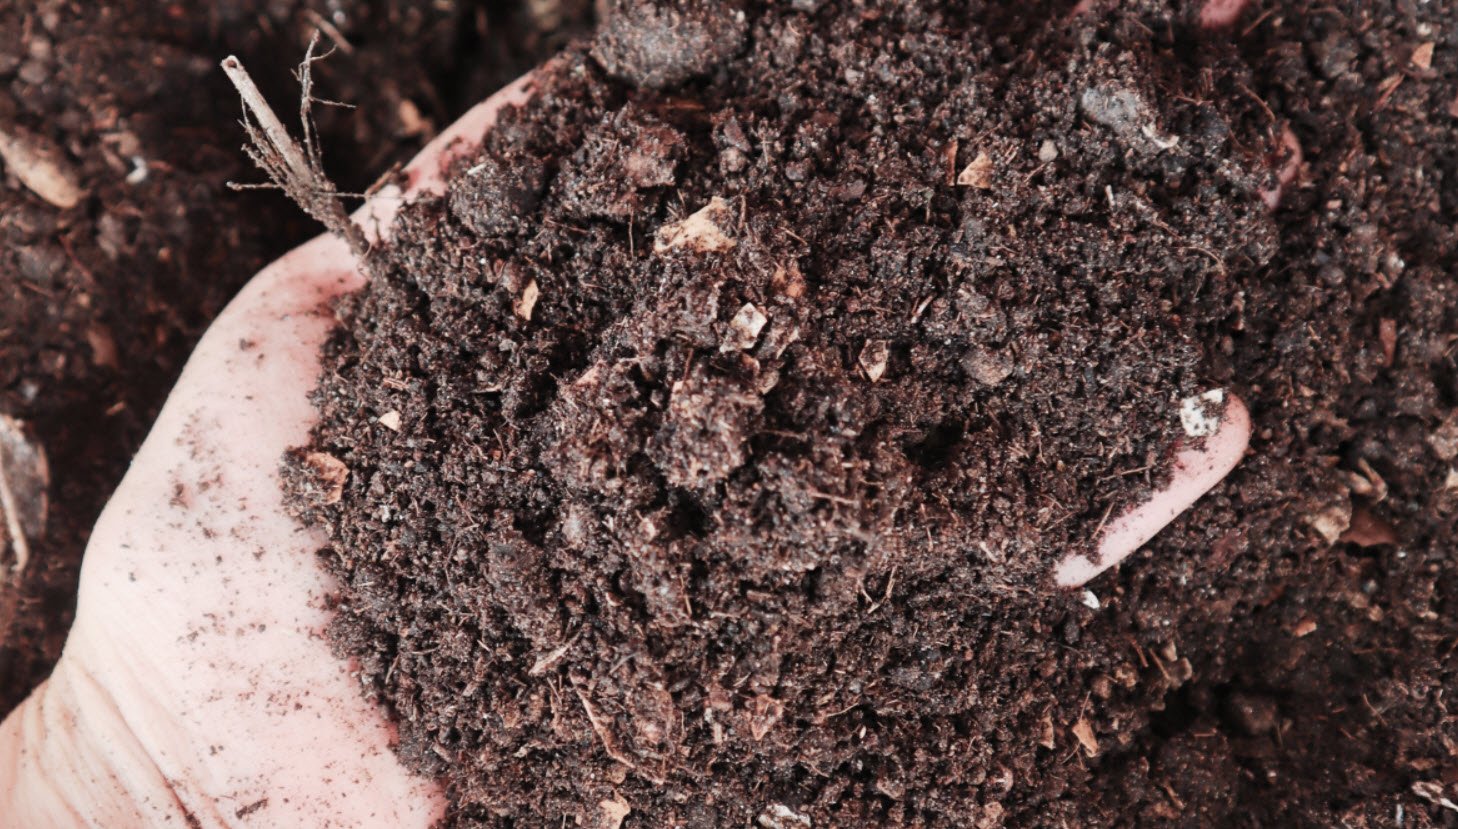
Compost contains nutrients, but it is not a substitute for fertilizers. Compost holds nutrients in the soil until plants can use them, loosens and aerates clay soils, and retains water in sandy soils.
To use as a soil amendment, mix 2 to 5 inches of compost into vegetable and flower gardens each year before planting. In a potting mixture, add one part compost to two parts commercial potting soil, or make your own mixture by using equal parts of compost and sand, or Perlite.
As a mulch, spread an inch or two of compost around annual flowers and vegetables, and up to 6 inches around trees and shrubs. Studies have shown that compost used as mulch, or mixed with the top 1-inch layer of soil, can help prevent some plant diseases, including some of those that cause damping of seedlings.
As a top dressing, mix finely sifted compost with sand and sprinkle evenly over lawns.
Some plugs are biodegradable so that you can insert them directly into the garden bed, rather than having to transplant them.
Read the instructions on the back of the seed package or on the plastic tag in your plant pot. You may have to ask experts when to plant the seeds if this information is not stated on the back of the package. Some seeds (such as tomatoes) should be started indoors, in small pots or seed trays, before the last frost, and only transplanted outdoors when the weather warms up.
For established plants or seedlings, be sure to plant asdirected on the plant tag or consult your local nursery about the best planting times.
Seedlings
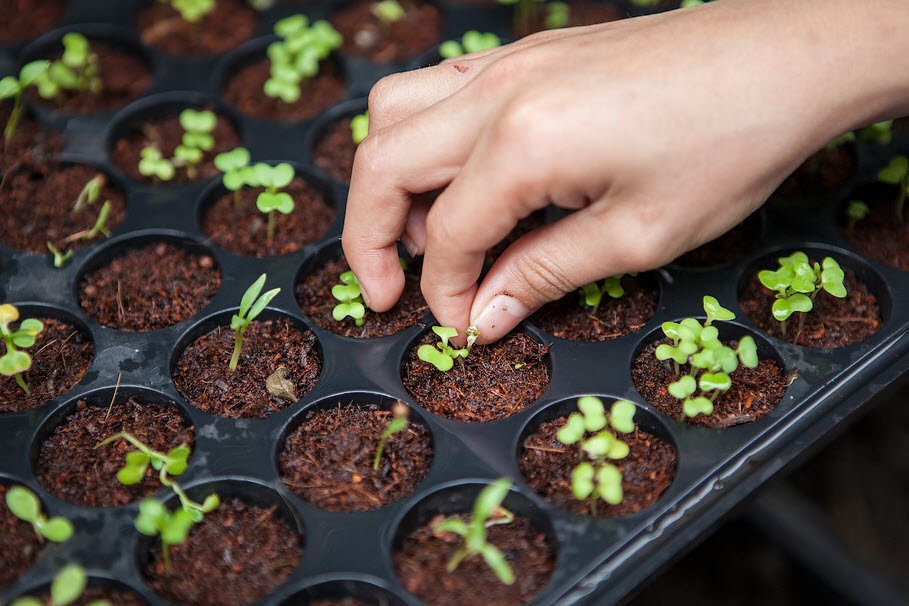
If you live in a cooler region with a shorter growing period, you will want to start some of your plants indoors. To do this, obtain plug flats (trays separated into many small cups or “cells”) or make your own small planters by poking holes in the bottom of paper cups.
Fill the cups two-thirds full with potting soil or composted soil. Bury the seed at the recommended depth, according to the instructions on the package. Tamp down the soil lightly and water. Keep the seedlings in a warm, well-lit place, such as the kitchen, to encourage germination.
You can grow seedlings in any wood, metal, or plastic container that is at least 3 inches deep. Egg cartons work very well if you don’t have access to regular plug flats. Just punch holes in the bottom for drainage.
Seeds can be sprouted and eaten on sandwiches, salads, or stirfries any time of the year. They are delicious and full of vitamins and proteins. Mung bean, soybean, alfalfa, wheat, corn, barley, mustard, clover, chickpeas, radish, and lentils all make good sprouts.
Find seeds for sprouting from your local health food store or use dried peas, beans, or lentils from the grocery store. Never use seeds intended for planting unless you’ve harvested the seeds yourself—commercially available planting seeds are often treated with a poisonous chemical fungicide.
To grow sprouts, thoroughly rinse and strain the seeds, then soak overnight in cool water. You’ll need about four times as much water as you have seeds.
Drain the seeds and place them in a wide-mouthed bowl or on a cookie sheet with a lip. Sprinkle with water to keep the seeds slightly damp.
You may wish to place the seeds on a damp paper towel to better hold in the moisture. Keep the seeds at 60 to 80 degrees F and rinse twice a day, returning them to their bowl or tray after. Once sprouts are 1 to 1 ½ inches long (generally after 3 to 5 days), they are ready to eat.
Radish sprouts are delicious on their own or in sandwiches or salads Once the weather begins to warm up and you are fairly certain you won’t be getting any more frosts (you can contact your local extension office to find out the last “frost free” date for your area) you can begin to acclimate your seedlings to the great outdoors.
First place them in a partially shady spot outdoors that is protected from strong wind. After a couple of days, move them into direct sunlight, and then finally transplant them to the garden.
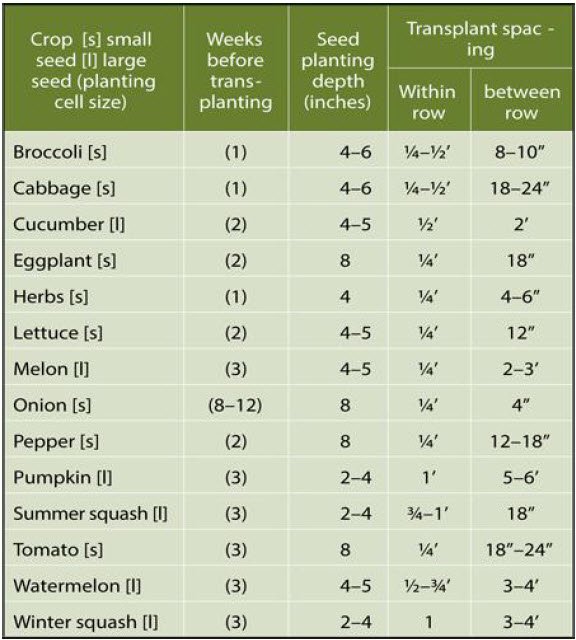
Recommended plants to start as seedlings
How to Best Water Your Soil
After your seeds or seedlings are planted, the next step is to water your soil. Different soil types have different watering needs. You don’t need to be a soil scientist to know how to water your soil properly. Here are some tips that can help to make your soil moist and primed for gardening:
- Loosen the soil around plants so water and nutrients can be quickly absorbed.
- Use a 1- to 2-inch protective layer of mulch on the soil surface above the root area. Cultivating and mulching help reduce evaporation and soil erosion.
- Water your plants at the appropriate time of day. Early morning or night is the best time for watering, as evaporation is less likely to occur at these times. Do not water your plants when it is extremely windy outside. Wind will prevent the water from reaching the soil where you want it to go.
A gentle spray will soak into the soil without damaging the plants. The thin layer of mulch will help to keep the water from evaporating too quickly. A good old-fashioned watering can is great for small gardens and potted plants.
Types of Soil and Their Water Retention
Knowing the type of soil you are planting in will help you best understand how to properly water and grow your garden plants.
Three common types of soil and their various abilities to absorb water are listed below:
Clay soil: To make this type of soil more loamy, add organic materials, such as compost, peat moss, and well-rotted leaves, in the spring before growing and also in the fall after harvesting your vegetables and fruits. Adding these organic materials allows this type of soil to hold more nutrients for healthy plant growth. Till or spade to help loosen the soil.
Since clay soil absorbs water very slowly, water only as fast as the soil can absorb the water.
Sandy soil: As with clay soil, adding organic materials in the spring and fall will help supplement the sandy soil and promote better plant growth and water absorption.
Left on its own (with no added organic matter) the water will run through sandy soil so quickly that plants won’t be able to absorb it through their roots and will fail to grow and thrive.
Loam soil: This is the best kind of soil for gardening. It’s a combination of sand, silt, and clay. Loamy soil is fertile, deep, easily crumbles, and is made up of organic matter. It will help promote the growth of quality fruits and vegetables, as well as flowers and other plants.
Loam absorbs water readily and stores it for plants to use. Water as frequently as the soil needs to maintain its moisture and to promote plant growth.
Sandy soil is usually lighter in color and won’t easily clump together in your hands. It needs organic matter and plenty of water to be suitable for growing.